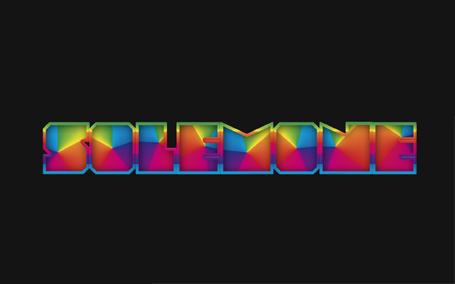
Tutorial: How to make a colorful text effect with Photoshop

In this tutorial you will learn how to make a colorful texteffect with photoshop. The screenshots are in german so if you have any questions just leave a comment.

You need three things for this tutorial:
Create a new document with a 1920px width by 1200px height, with a 72 pixels/inch resolution. Set color mode to RGB 8bit. The background color should be #141414.

Create a new text layer and type your text. Use the settings from the screenshot and apply the following layer styles to the text layer. Use the gradient from the preparation.
Now create every character of your text separate again. Put the single character accurately over the first text layer.

Apply the following layer styles to every single character. Tip: Just apply the styles to the first character -› go to layers panel -› right click the first character, copy the layer style -› select the rest character -› right click paste layer style.
This should look like that:

Now customize the gradient layer style of every other character. Invert and turn the gradient, so the colors are in line with the character next to each other. You can also drag the gradient away from the middle to bring some dynamic in it.

This could look like that:

Open the the paper texture and drag it into the texteffect file. Lay the texture over the text layer and fit the width to the text layer width.
Make a selection of the entire text by holding down the command key and pressing once on the first text layer thumbnail.
Then mask the texture with the currently created selection (red marked symbol on the screenshot) that it looks like this:

Set the texture layer´s blending mode to Multiply and thats it.
Thank you for reading this tutorial I hope you enjoyed it … solemone
Comments
Great blog, thanks for all your work! FAbulous stuff.